This is the main bathroom, at least the “before.”
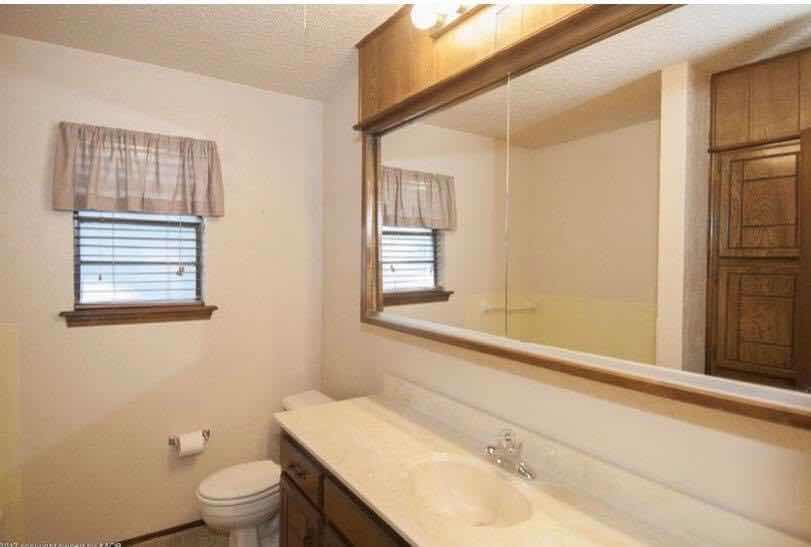
This bathroom features a large functional, but outdated medicine cabinet. In the mirror, you can see that there’s a tub with yellow tile, and a dark brown linen cabinet.
Before we get into the details of part one, it should be said that I took the carpet out of the bathroom (the week we moved in) and put in tile. We also took the popcorn off the ceiling and painted the walls the same color we did in the kitchen.
Part 1- the bathtub
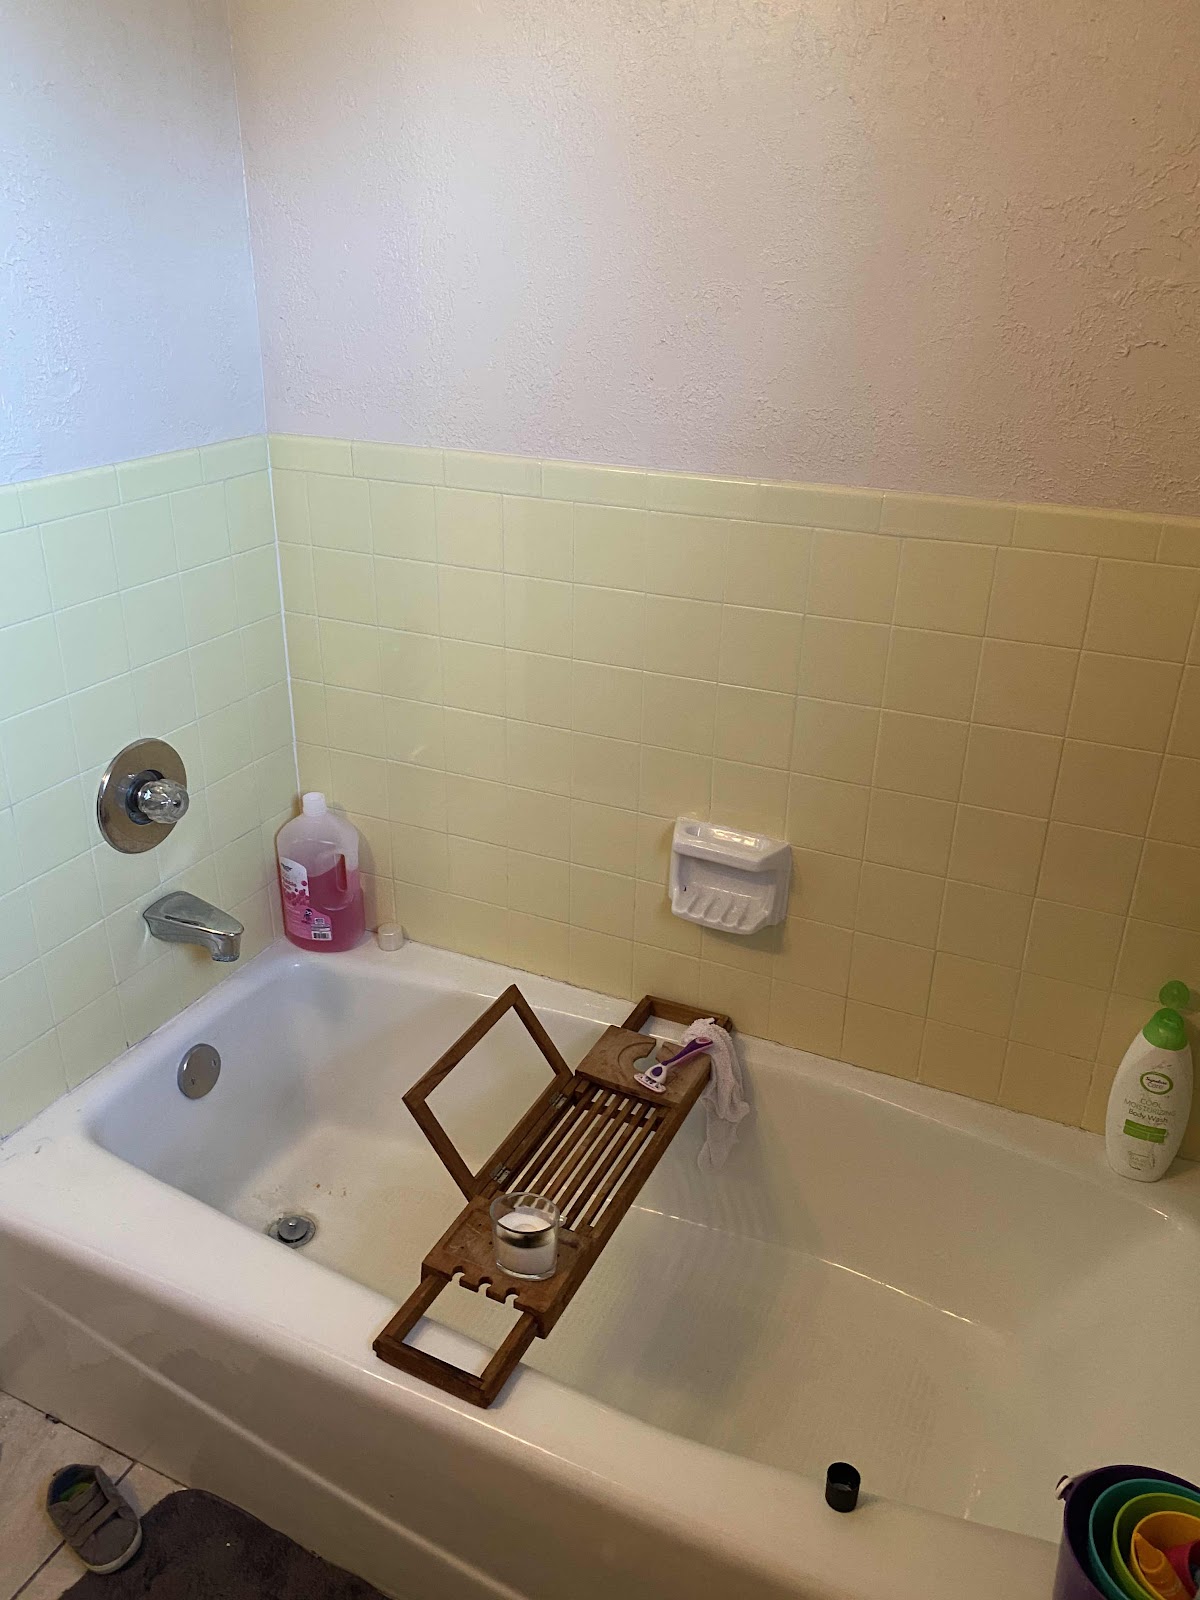
So glad I cleaned everything up to take this picture...
One of the things that bothered me the most is that it’s just a tub, no shower. Ollie takes baths for now, but not for ever. Plus our poor guests had to get creative unless they wanted to use our shower.

The first thing I did was decide how high I wanted the shower to be and then I painted using waterproofing paint for masonry.

I painted the yellow tile white using latex based paint. It took several coats.

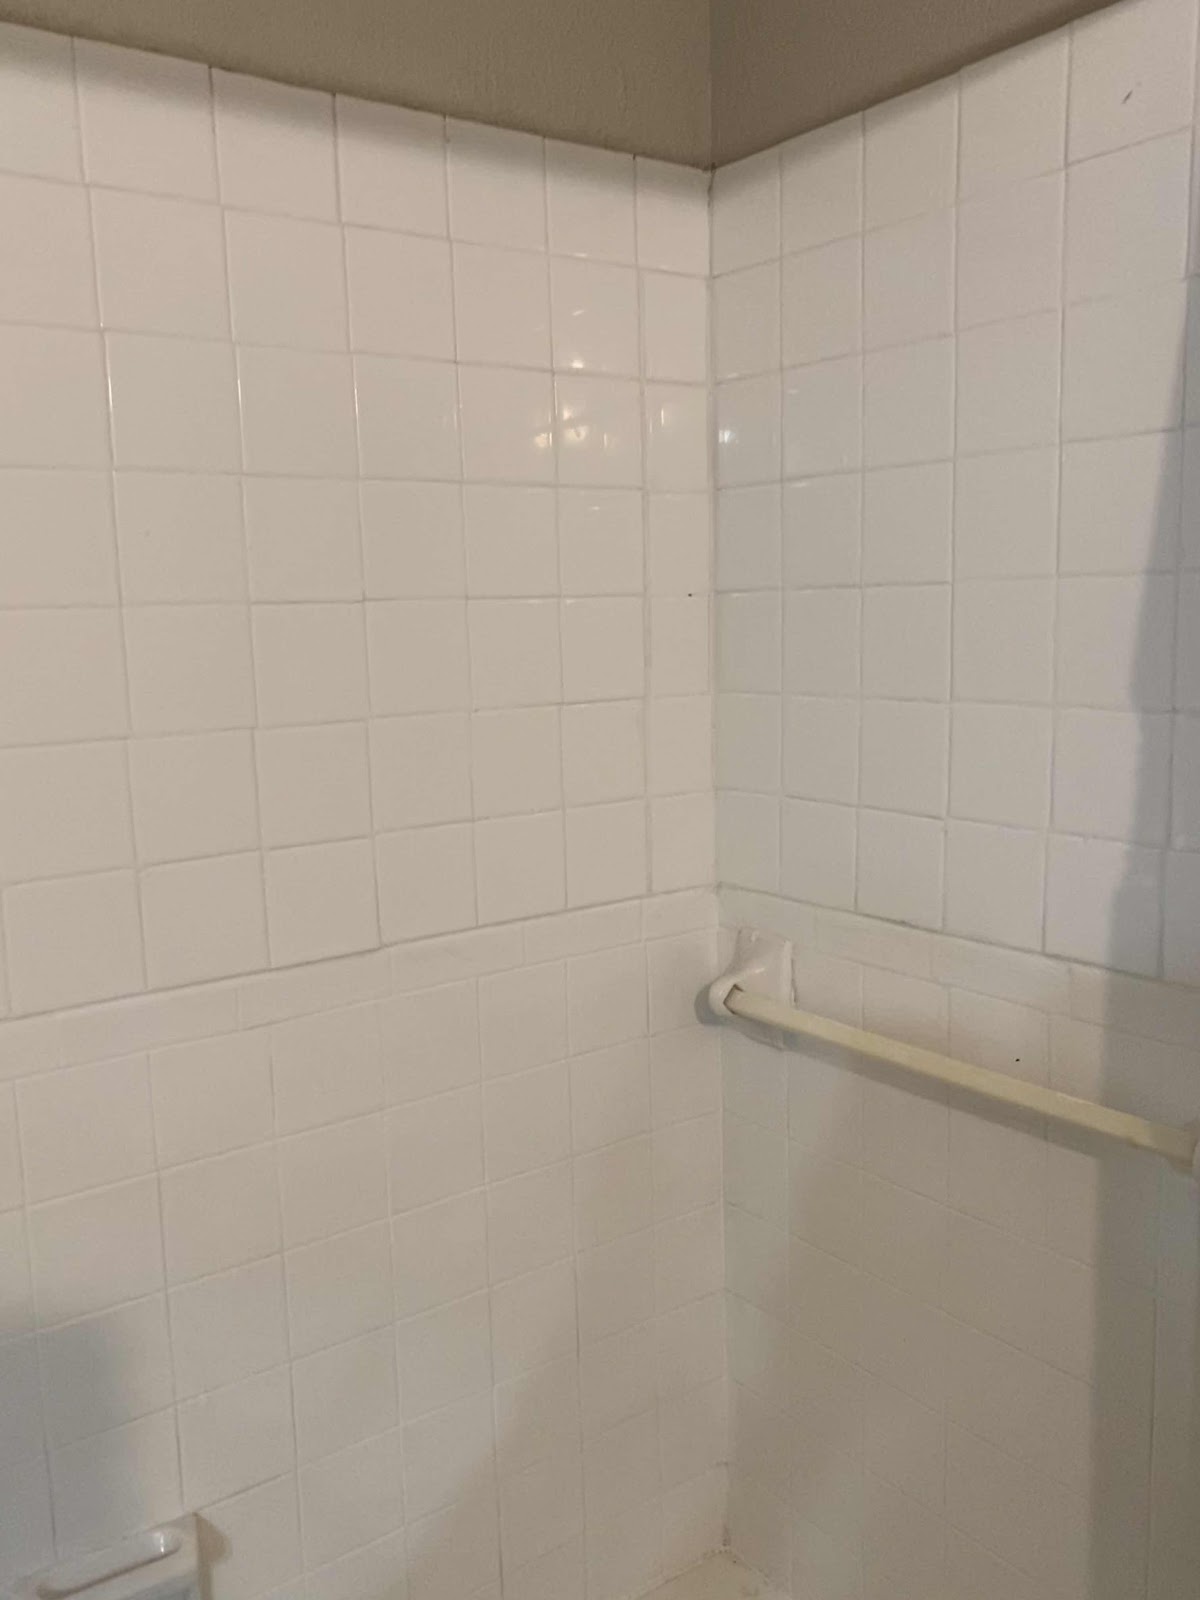
I added tile.
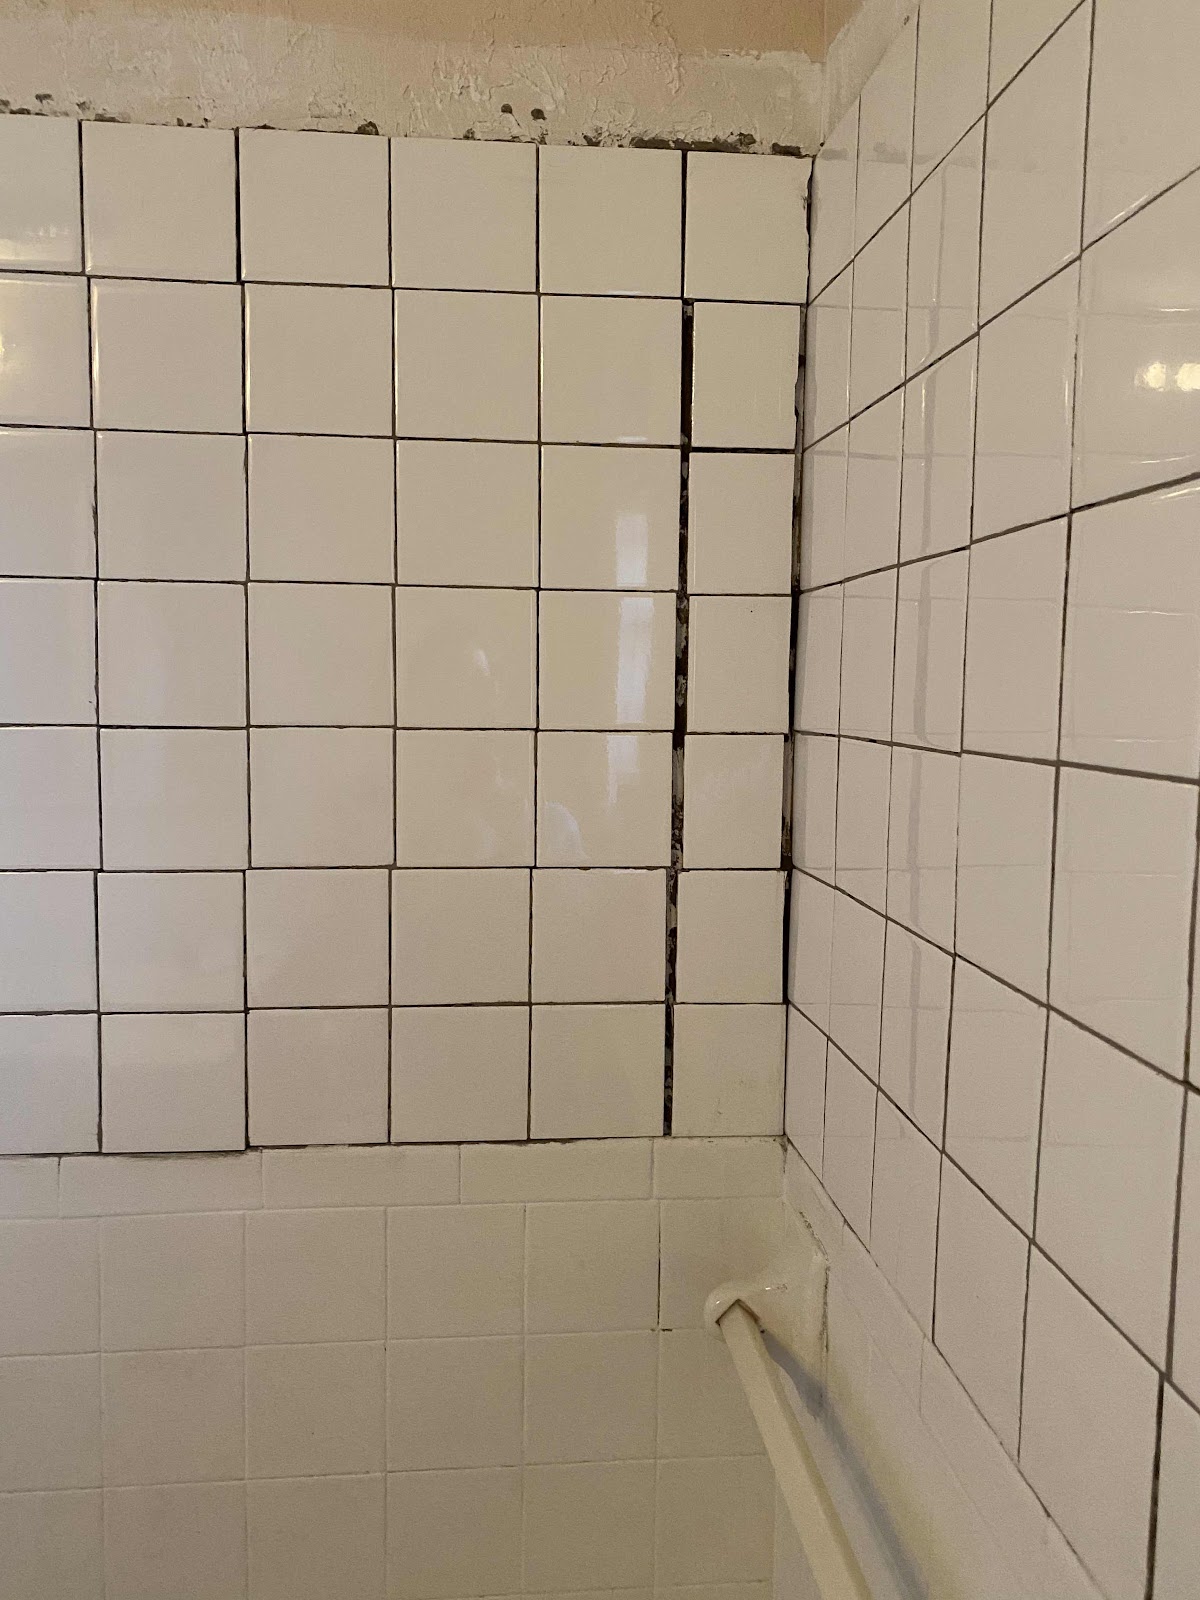
This corner drives me crazy, but I’m trying to be honest about the whole thing. I eventually want to put permanent ceramic shelves to disguise that a bit.
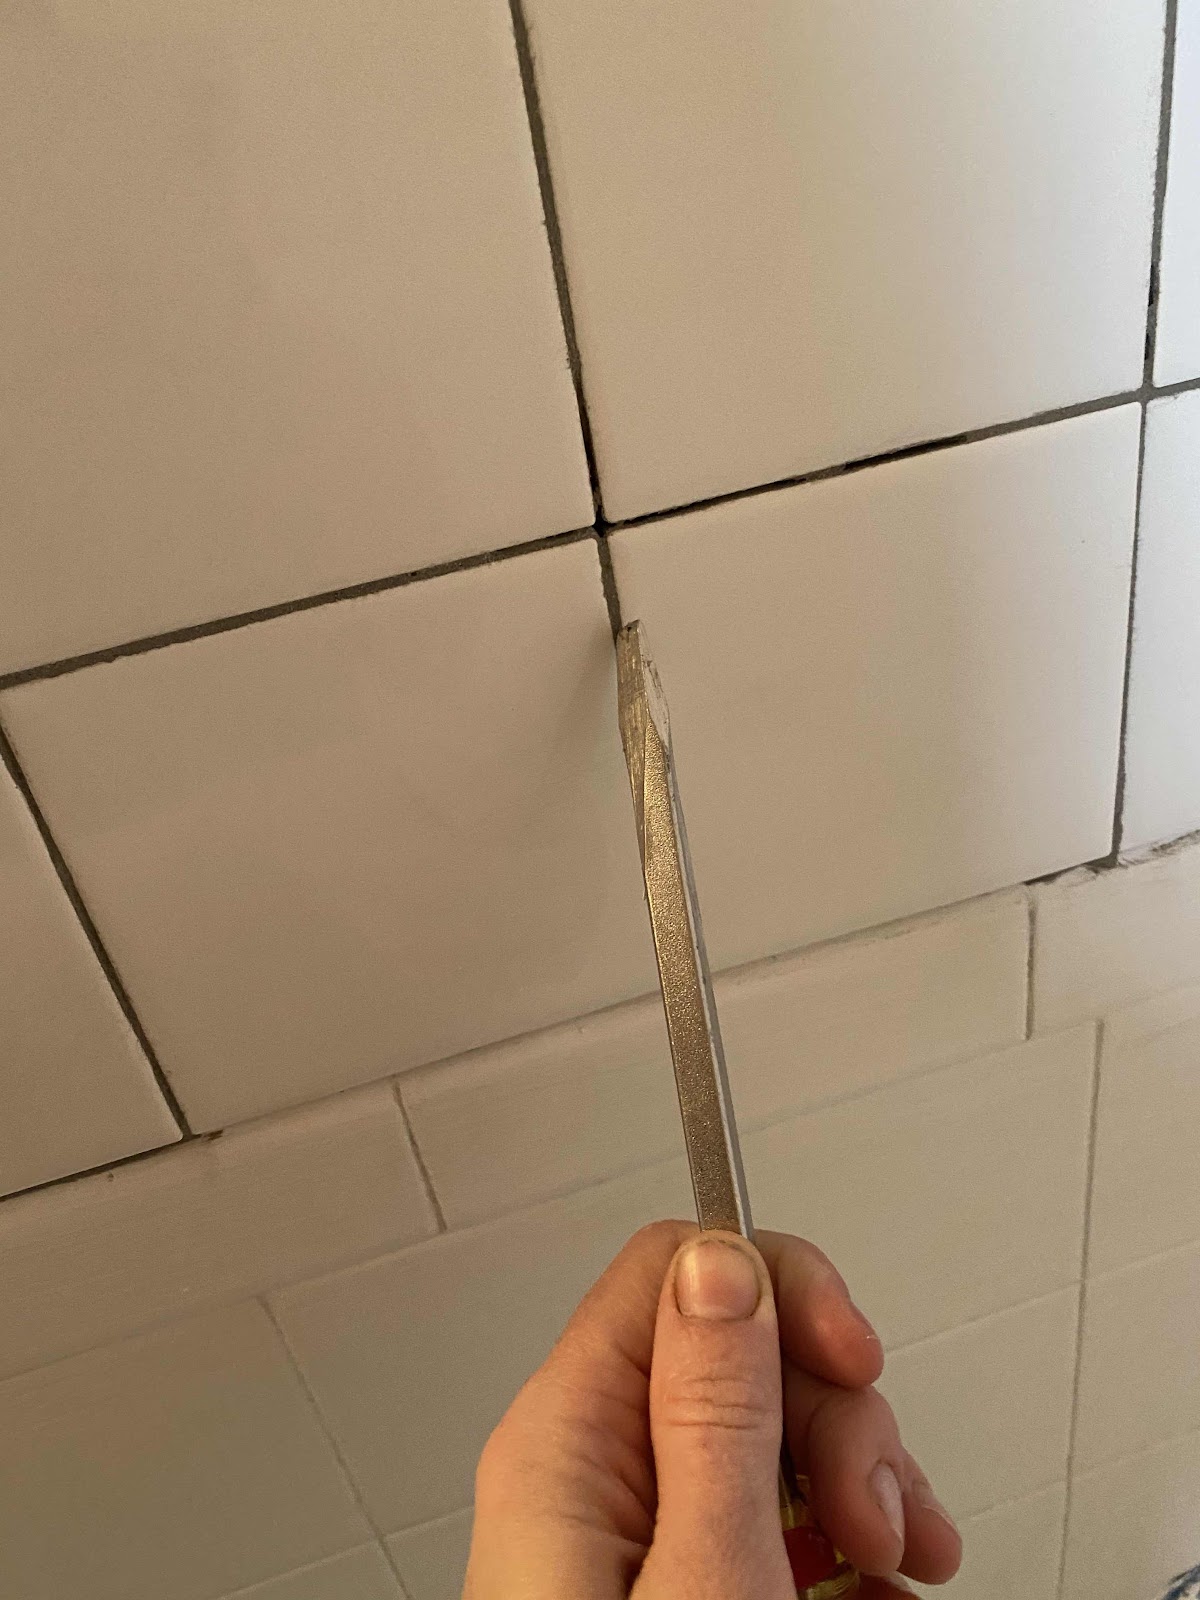

Cleaned up the overflowing mortar and deed white grout.

We bought a spout diverter to replace our original spout. It took a couple of tries as the first spout didn’t quite fit on the nozzle. So, if you choose to do this, measure the copper stub out that your spout attaches to. Ours was longer than the original spout we bought.
We had a very specific need and because we bought ours at a home improvement store, and not Amazon, I’m not sure the exact brand we bought, but I will include examples.
Overall I am really happy with how this turned out. I had to do a lot of specific Pinterest searches, as this is a unique problem not a lot of people have. I love how much it brightens the room.
Before

After

Shopping List:
Pinterest inspiration:
No comments:
Post a Comment