In our last post, this is how the wardrobe was looking. Very functional, but needing some paint and doors.
I spent a lot of time scraping paint off, stripping, and sanding and finally was able to prime.
(And daily moving clothes out of the wardrobe and back in).
I did two coats of primer and three coats of Bubble Bath by Valspar to match the walls.
Let’s just pretend there’s a huge difference between the paint and primer.

I found some veneer wall panels at Habitat for Humanity and used 1x2 furring strips to build the doors and of course recruited some help to paint them.
No matter how many times I measured, the doors weren’t hanging completely perfectly. I am blaming that on the uneven walls, thank you very much.
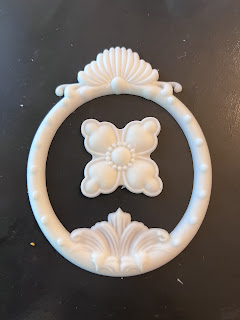
I used a resin cast to add appliqués to the wardrobe.
I also added trim on the outside and inside of the doors, which helped close the gap around the doors.

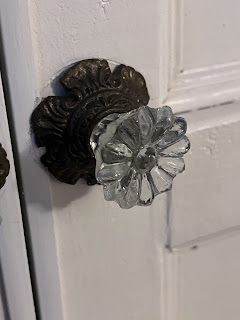
I just love these knobs. They add a warmth to the wardrobe and I saved about $24 buying them second hand.
Last was adding trim to the corner and ends of the wardrobe, which really pulled it together. And of course, adding one last coat of paint.
I absolutely love how it turned out! It’s exactly how I envisioned it and I think it’s such a good use of the space.
It goes so well the rest of our room!
Crown molding and baseboards still need to happen, but those are on a master list of projects to complete in the future.
Here are some of my inspirations:
Wardrobe on a Budget helped me with the structure.
Decorative Molding helped me with the design.


No comments:
Post a Comment