
This post is all about the laundry nook. Let’s start by saying that this is probably the most functional makeover I have done to this house or will ever do.

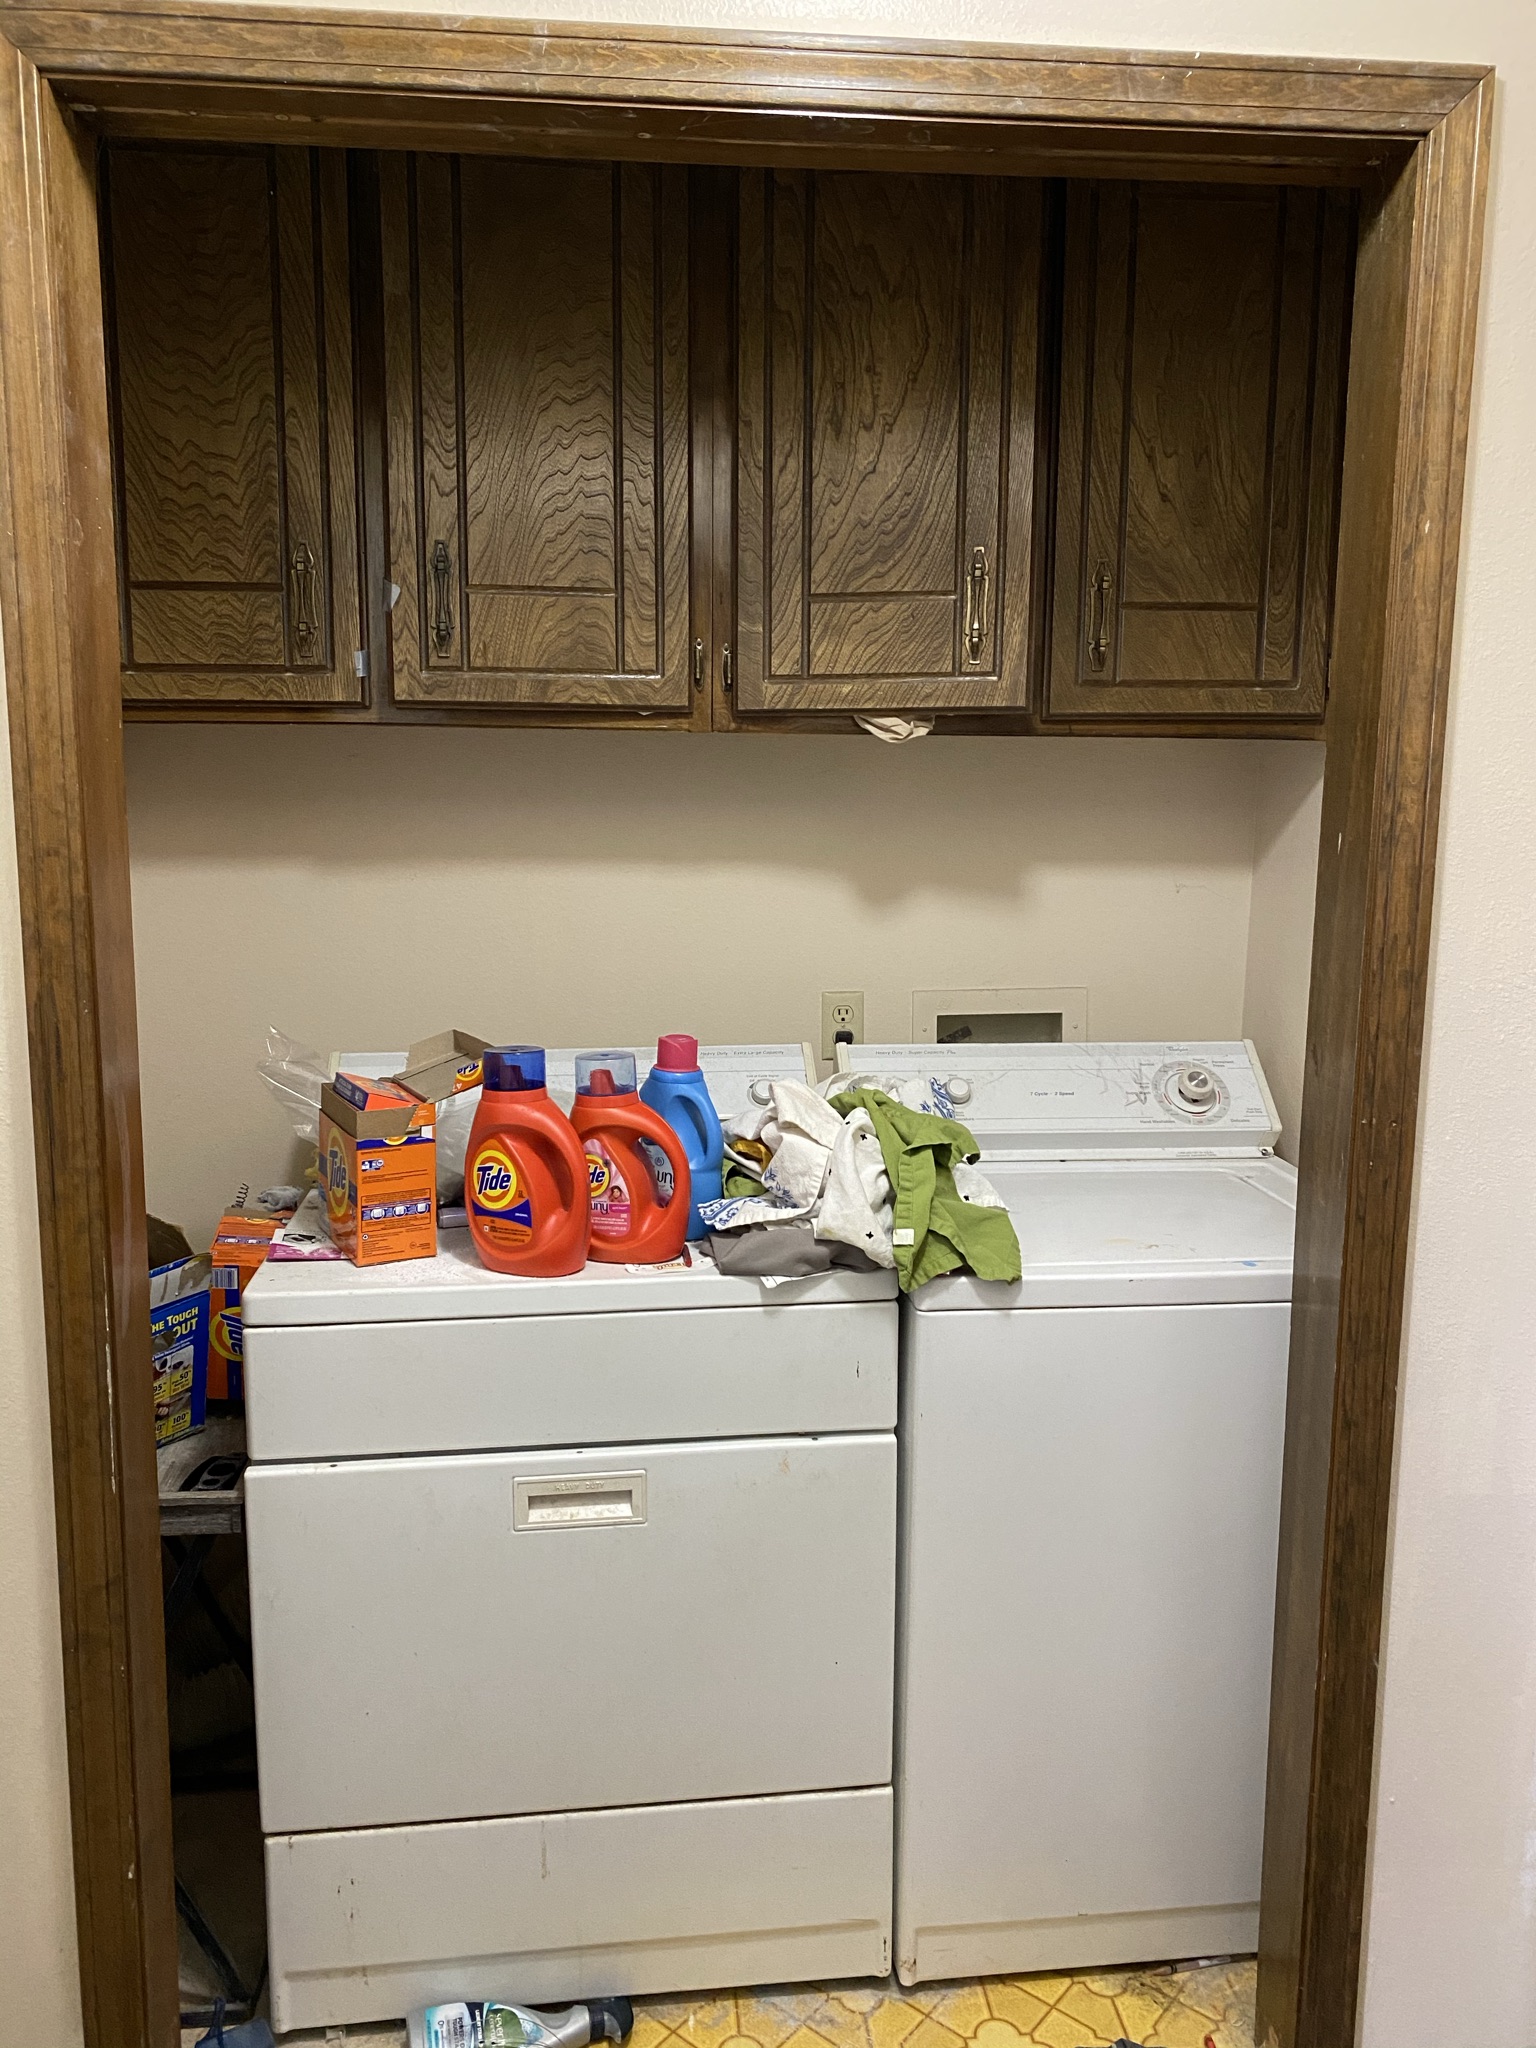
So then then the laundry room looked like this. The cabinets were too high to conveniently put things in, and then we have all this clutter on top of the washer and dryer. You can see this right from our laundry room, so it was always fun showing off our clutter.
I hate clutter. I’m not great about actually dealing with it, but I still hate it. Comedian Maria Bamford says it perfectly: “I’m like a raccoon. I get what I need and then I’m on my way. I’ll leave a trail of clues behind me to show what I’ve been up to all day, my main offense is leaving cabinet doors and drawers open.”
https://vm.tiktok.com/ZMeMbt5mS/
All of that to say, it just wasn’t realistic to leave the washer and dryer open like that. Also, the washer leaked one time too many and I had to take the carpet out.
My Christmas present was to be able to make over that nook. My other Christmas present was Harper came six weeks early, so our material sat in our entry hallway for a while.
The first thing I did was take down the walls surrounding the washer and dryer. There was a good foot-wide gap on either side that wasn’t functional because we couldn’t access it behind the wall. It was a bit of a shock to Aaron when he came out after bathing Ollie and found part of our house missing.
The second thing I did was have Aaron take down the cabinets. Like I mentioned earlier, they were good storage in theory; however, they didn’t work for our needs. We replaced them with three shelves made of mdf boards.
I “helped” Aaron move the boards to cut them. They were so heavy. I felt like I was more there for moral support rather than to help with the actual physical support.
The top shelf goes across the whole nook. I measured a little too perfectly because we could get the shelf up past the brackets, but then it would get caught on the wall and, well, I had to use a drill as a makeshift saw to slim it down because we could not get that shelf back down.

I have two shelves underneath that that just goes the length of the washer and dryer to make room for our flag, vacuum, and coats. I really wanted one of the functions of this nook to be a coat closet. It’s right next to the garage, so it’s more functional to have it right there. How cool is this sliding closet rod?!


A bonus is that I can now turn the original coat closet into a second pantry.
Third, I switched the light with a can light because I wanted the doors to be floor to ceiling and I needed room to swing the doors open.
Fourth, I put the same peel and stick tile down that I put in my entry way.
Fifth, I made two doors out of mdf boards; let me emphasize, again, how heavy these doors are. It took a few of tries to get the doors right, as I didn’t leave a gap at the bottom to open without scraping the ground, and then I discovered after I hung them up that I made them too wide.
I cut up plywood underlayment to make the doors a little more interesting.
 |
| Backyard door |
I was inspired by our backyard door and even painted it the same color. I used gate hinges to hang the doors and a gate latch and hook to keep it closed.

I’m so happy with how this turned out. It’s exactly how I envisioned it. For such a small space, it is so functional and way less of an eye sore. It’s a utility closet, coat closet, mud room, and Ollie’s Narnia (which he accesses with a broom and closes by calling mom or dad).
No comments:
Post a Comment