
We were finally defeated by our busy schedule and had to skip a week of our summer activities. Ain’t no tired like VBS tired.
I like to wait to do a house makeover update until I’m officially done with the project, but thought this would be a good opportunity for an update.
Kitchen Part 2
We finished making over our kitchen about a year ago, and I’m still so proud of how it turned out.

I still think it’s so great for how it turned out, but I failed to put a topcoat over the painted countertops, so it started peeling, especially close to the sink where it gets wet a lot.

I loved how warm and inviting this kitchen on Pinterest I saw looked and wanted to implement it.

There’s a lot of tutorials for how to do make wood countertops. We bought cedar tongue and groove wall planks and just nailed them on top of the counters. I’m not going to lie, the cedar smell was STRONG for a couple of days. I stained it in special walnut and put a deck oil on top to keep moisture off.

I love how it turned out! The best thing is that the more we use it, the better it will look because it will have that old barn wood look.
The next thing I did was take the walls above the cabinets down. I made boxes out of wood and put them above and secured them with l-brackets, painted and added crown molding.

I also built a wooden range hood around the existing one. It was important for me not to lose storage, so I built shaker style doors that allow me to easily access the switches and the existing cabinet.


There’s still a good bit to do: finish the crown molding. Paint the walls that were covered by cabinets, fix the ceiling where I STRUGGLED putting a light fixture in, paint the appliances.
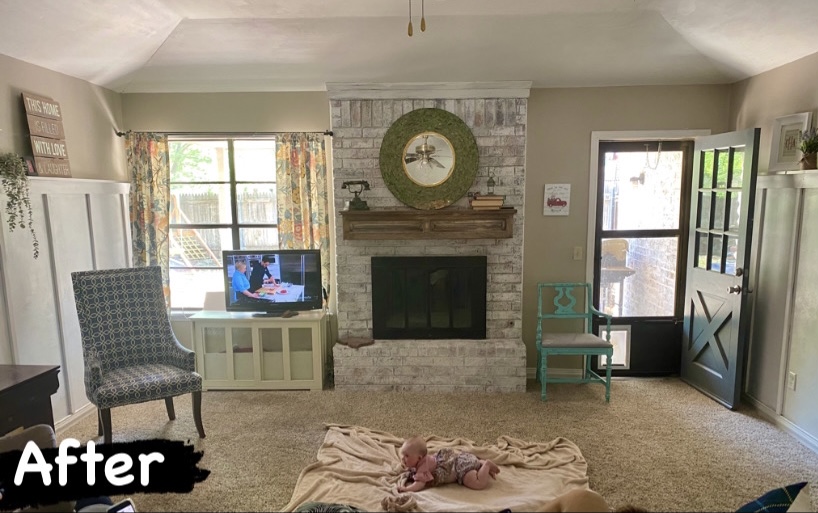
Living Room part 2

I was coming up blank with what I wanted to do with the living room. I made over the fireplace really early on by whitewashing the brick, and spray painting the metal part.
I also took out the wood paneling.

It was good for a while, but I knew I was struggling with what to do with the walls. I started seeing the trend of board and batten and fell in love with it!
It looks impressive but is super easy to do. I initially used furring strips because I thought it would be cost effective. It wasn’t worth it because the boards were so crooked and I ended up buying 1x2 pine boards which were only 10 cents more expensive. I cut them 5 ft high and then laid 1x4 boards on top and then added 1x4 boards on top of that to create a shelf.

I smoothed out the walls using joint compound and then painted over everything using leftover paint from Harper’s room.


Oh y’all. I love this makeover. It was so easy, but it looks so impressive and best of all, it feels so cozy. I still need to make over the furniture and get another couch, but what a difference!
No comments:
Post a Comment